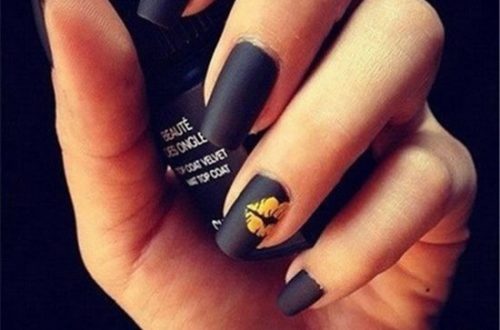
Gold foil plaid nail art tutorial
Many small partners have become more and more accustomed to their own DIY manicures. They can be styled at will and can do all kinds of patterns they like. Today we continue to bring you a very beautiful gold foil plaid manicure. It is super simple. You can do it yourself at home, let’s take a look at it.
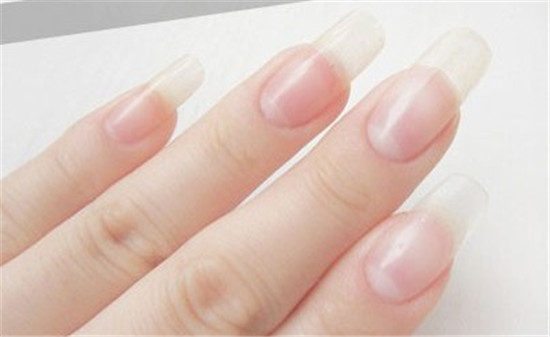
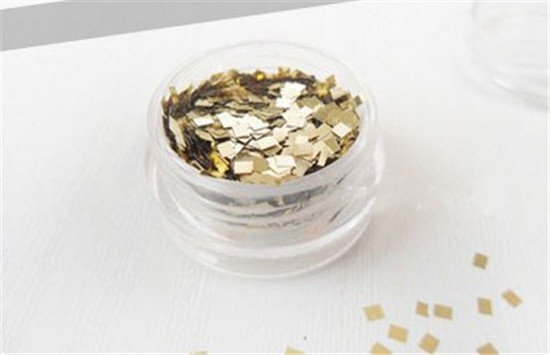
Step 1: Prepare the required nail glue and tools, trim the nails and polish the nail surface.

Step 2: Brush the primer and illuminate for 60 seconds.
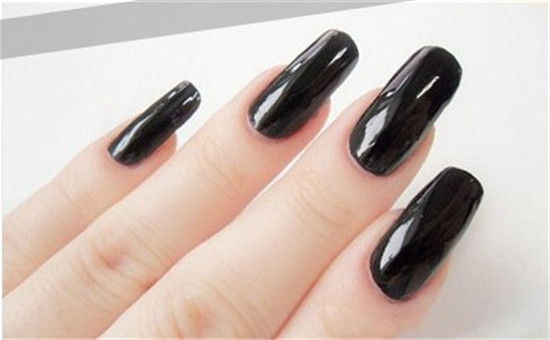
Step 3: Apply a black background to the nail surface evenly for 60 seconds. For the full color, apply it again, and illuminate for 60 seconds.
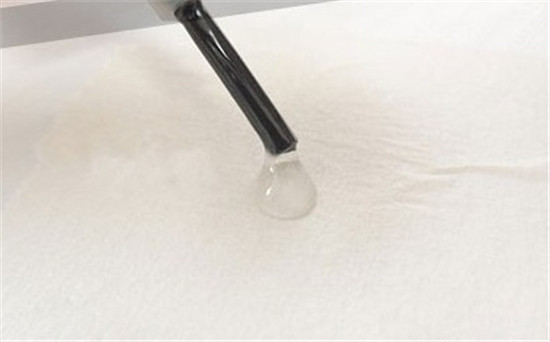
Step 4: Drop a drop of clear nail polish on the paper. Conditional baby can also use professional glue.
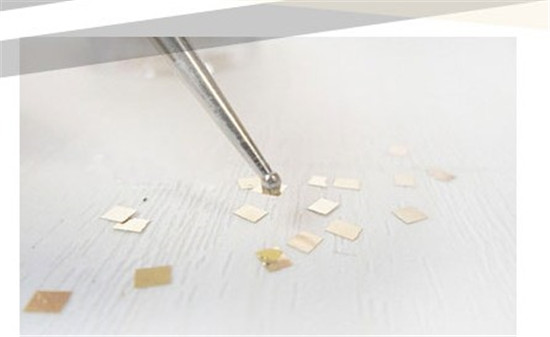
Step 5: Divide the small pieces of gold on a piece of paper, do not overlap, and divide them.
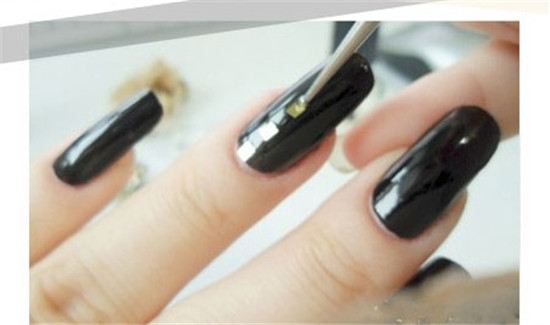
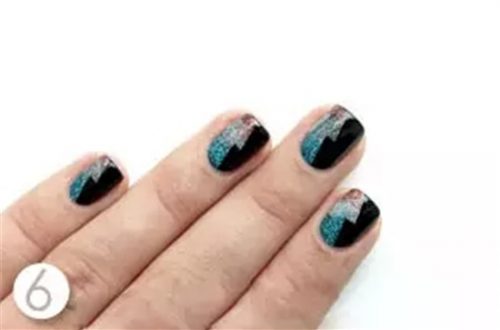
Step 6: Use a point drill to draw transparent nail polish and then stick a square piece.
Step 7: Press the square piece on the black nail and adjust the position.
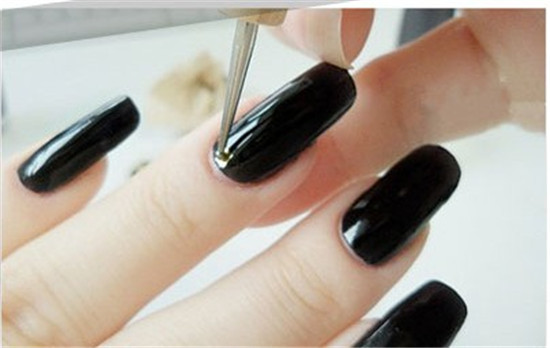
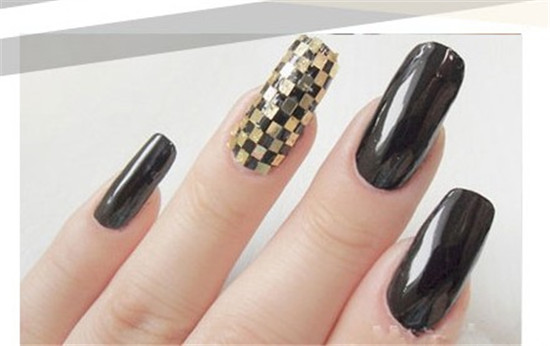
Step 8: Probably separate the position of one square piece and put one more. Be careful not to stick it, otherwise the overall effect will not be good.
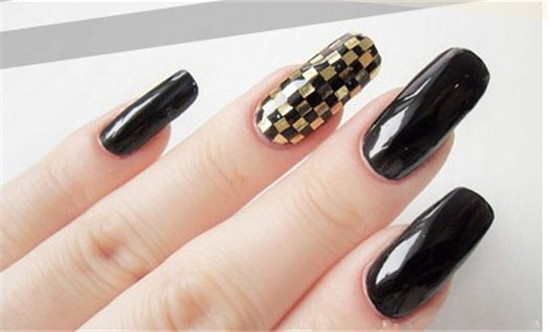
Step 9: Spread the entire face and make a grid effect.
Step 10: At this time, use a small pair of scissors or a nail clipper to cut off the excess part of the side.
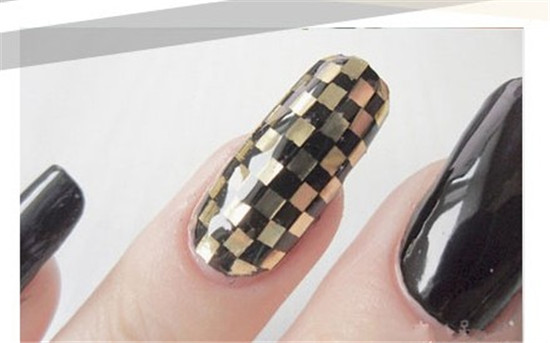
Finally, a layer of sealing on the surface of the nail, the light can be 60 seconds.


You May Also Like

Early spring nail art picture 2019 style fashion
Shiny Dark Nail Steps Tutorial