-
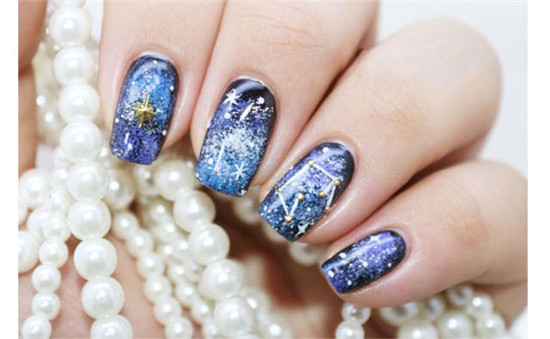
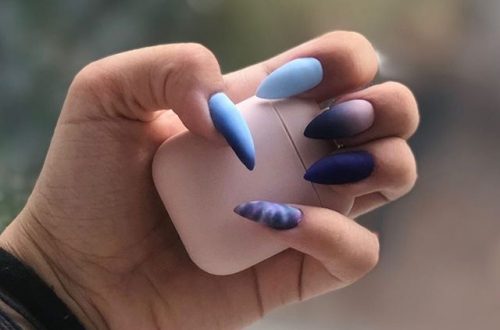
Self-learning starry manicure tutorial step diagram
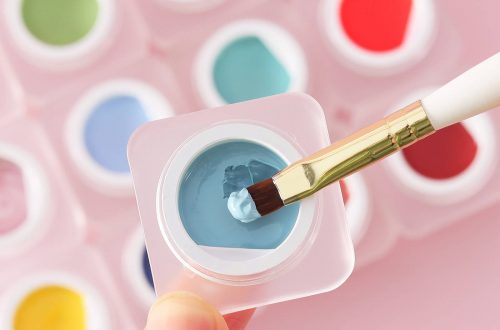
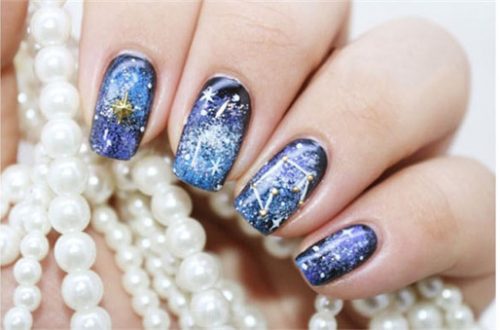
Today, I teach you a hand-painted fantasy starry manicure, very good-looking, not difficult, at home, you can learn the star map tutorial. Prepare the required nail glue and tools, trim the nails and polish the nail surface, brush the primer, and illuminate for 60 seconds. Apply a dark blue background to the nail surface evenly for 60 seconds. For the full color, apply it again, and illuminate for 60 seconds. Step 2: Use a fine sponge and purple nail polish to tap on the trailing edge of the middle finger, as shown in the picture, for 60 seconds. Step 3: Use a fine sponge and blue nail polish to tap…
-
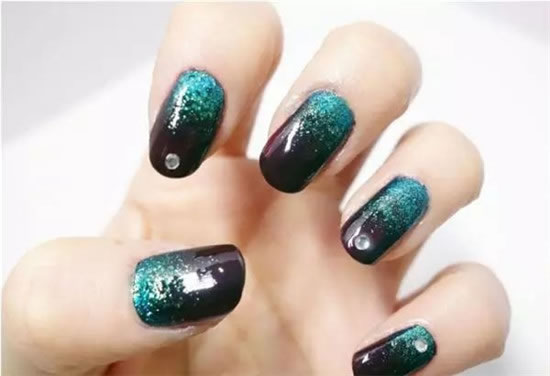
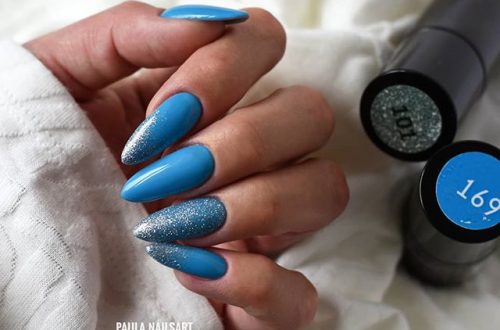
High-end custom banquet nail art tutorial
High-end custom banquet nail tutorial Step 1: Prepare the required nail glue and tools, trim the nails and polish the nail surface, brush the primer, and illuminate for 60 seconds. Apply a burgundy color to the face evenly and illuminate for 60 seconds. It is recommended to apply two layers to make the color more full. Step 2: Apply a blue-green nail polish with a sequin on the sponge, then wipe the sponge back and forth at the end of the nail and print the blue-green nail polish on the lower half of the nail. Step 3: Repeat the same steps for the remaining nails and remove the excess nail…
-
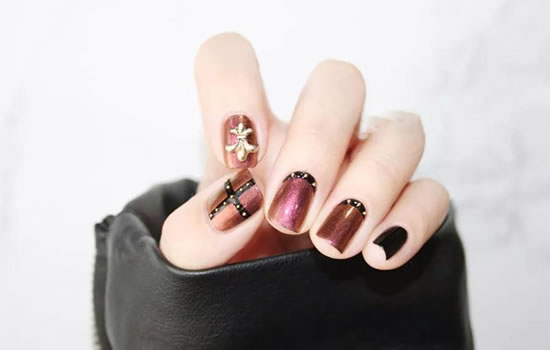
Pearlescent French Manicure Tutorial
Pearlescent French Manicure Course Step 1: Prepare the required nail polish and tools, apply the primer and illuminate for 60 seconds. The second step: the whole brush mountain rust red pearl nail polish and black nail polish, to be dry, in order to make the color more full, brush again, and light for 60 seconds. The third step: draw the edging method on the trailing edge of the middle finger and the ring finger with a hook line pen and black nail polish, and illuminate for 60 seconds, as shown in the figure. The fourth step: draw a stripe on the thumb with a hook line pen and black nail…
-
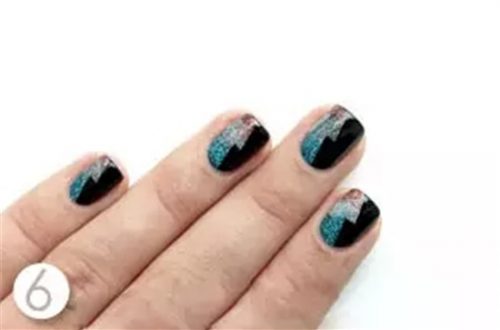
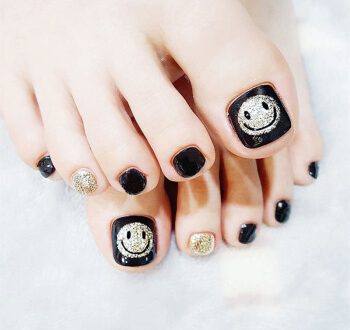
Shiny Dark Nail Steps Tutorial
Today, I teach you a shiny dark manicure tutorial, black nails show more temperament, but I still want blingbling nail art how to do? That is half shiny, half dark, low-key luxury, very nice, let’s take a look at it. Step 1: Prepare the required nail glue and tools, trim the nails and polish the nail surface, brush the primer, and illuminate for 60 seconds. Apply a pink background to the nail surface evenly for 60 seconds. For the full color, apply it again, and illuminate for 60 seconds. Step 2: Take 10 lightning-like stickers of the same shape. If not, you can cut them into parallelograms with straight strips,…
-
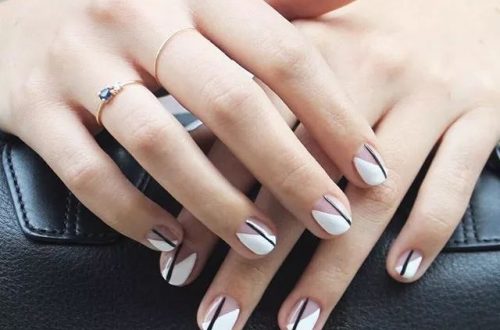
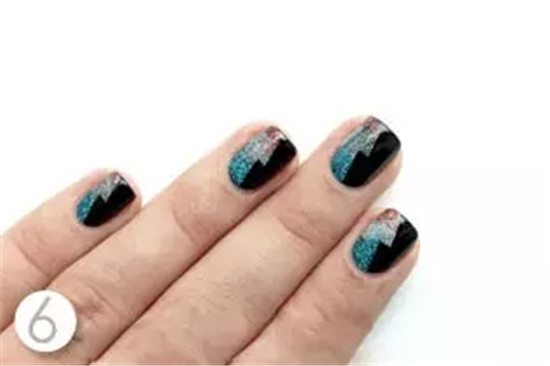
Black and white French manicure tutorial step picture
Black and white French manicure tutorial step picture Step 1: Prepare the required nail glue and tools, trim the nails and polish the nail surface, brush the primer, and illuminate for 60 seconds. The second step: draw a black color block on the left side of the leading edge of the index finger with a hook line pen and black nail polish, and illuminate for 60 seconds. Then lick the silver pearl polish to draw a good block on the right side, and illuminate for 60 seconds. For the full color, apply it again, and illuminate for 60 seconds. Step 3: Draw the other fingers in the same way. Step…
-
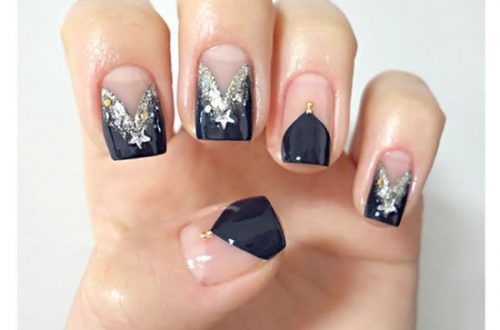
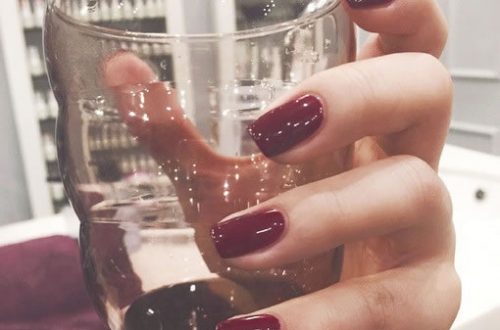
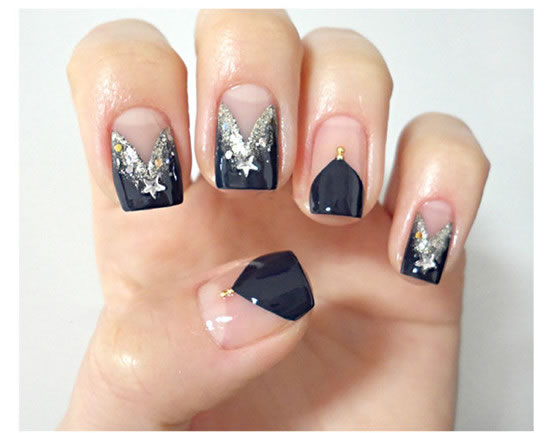
Gorgeous Tuxedo Black French Manicure Tutorial
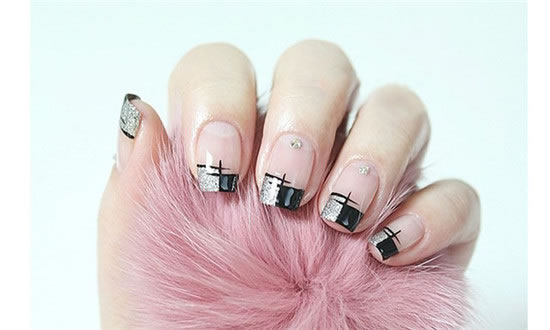
Black French Manicure Tutorial Step 1: Prepare the required nail glue and tools, trim the nails and polish the nail surface, brush the primer, and illuminate for 60 seconds. Use the hook line pen and the black nail polish to make a love law, and light for 60 seconds. Step 2: Take gold and silver pearl polish to reconcile. The third step: draw the outline of the French color block with the pearly nail polish blended with the hook line pen, without using it. In the thumb and no Step 1: prepare the required nail glue and tools, trim the nails and polish the nail surface, brush the primer, and…
-
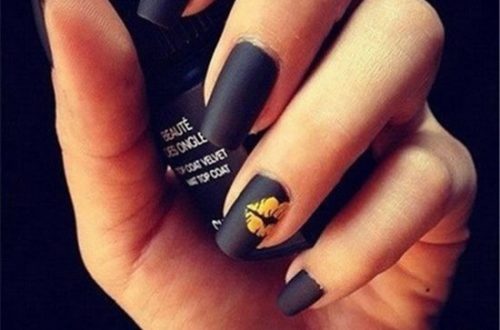
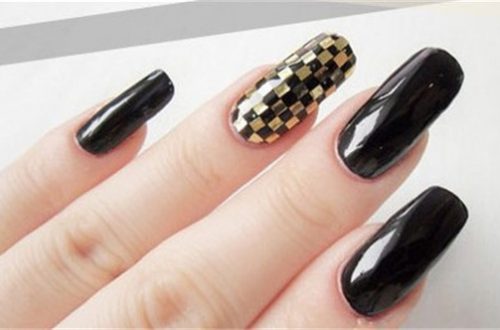
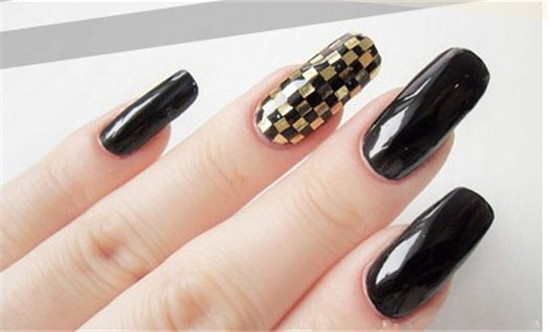
Gold foil plaid nail art tutorial
Many small partners have become more and more accustomed to their own DIY manicures. They can be styled at will and can do all kinds of patterns they like. Today we continue to bring you a very beautiful gold foil plaid manicure. It is super simple. You can do it yourself at home, let’s take a look at it. Step 1: Prepare the required nail glue and tools, trim the nails and polish the nail surface. Step 2: Brush the primer and illuminate for 60 seconds. Step 3: Apply a black background to the nail surface evenly for 60 seconds. For the full color, apply it again, and illuminate for…